Welcome to
Join Mistie Bush and our wonderful community of crafters. Discover free patterns, step-by-step tutorials, and the joy of creating something beautiful with your own hands.
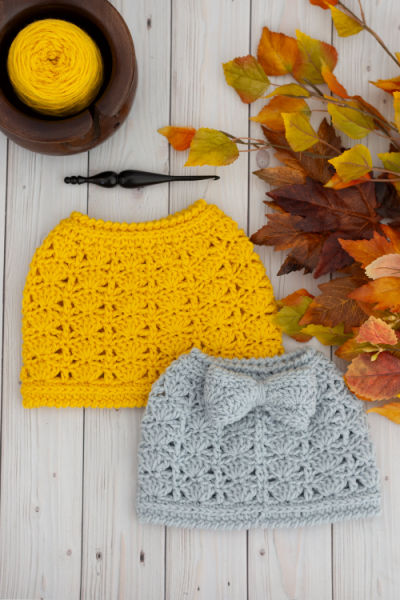
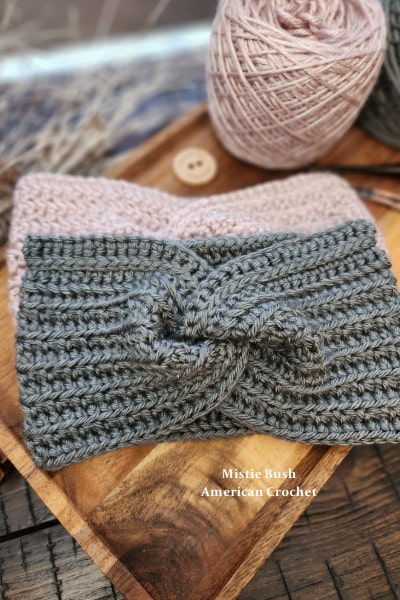
Explore Our Patterns
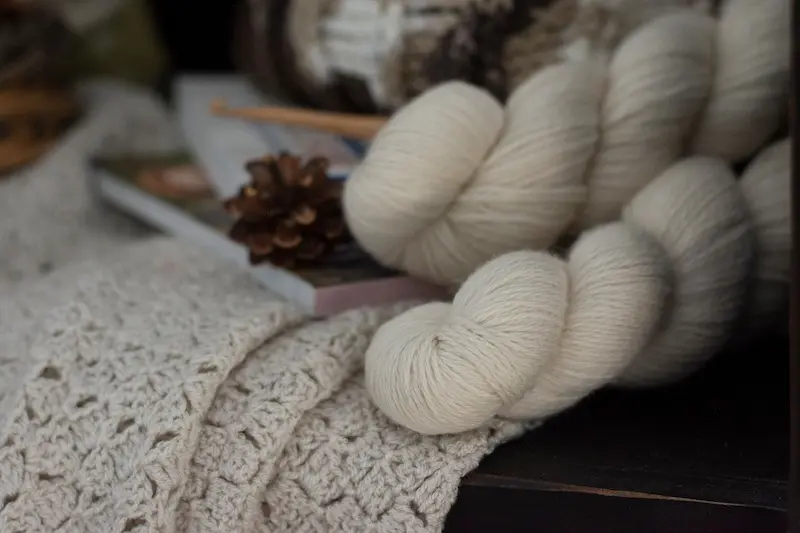
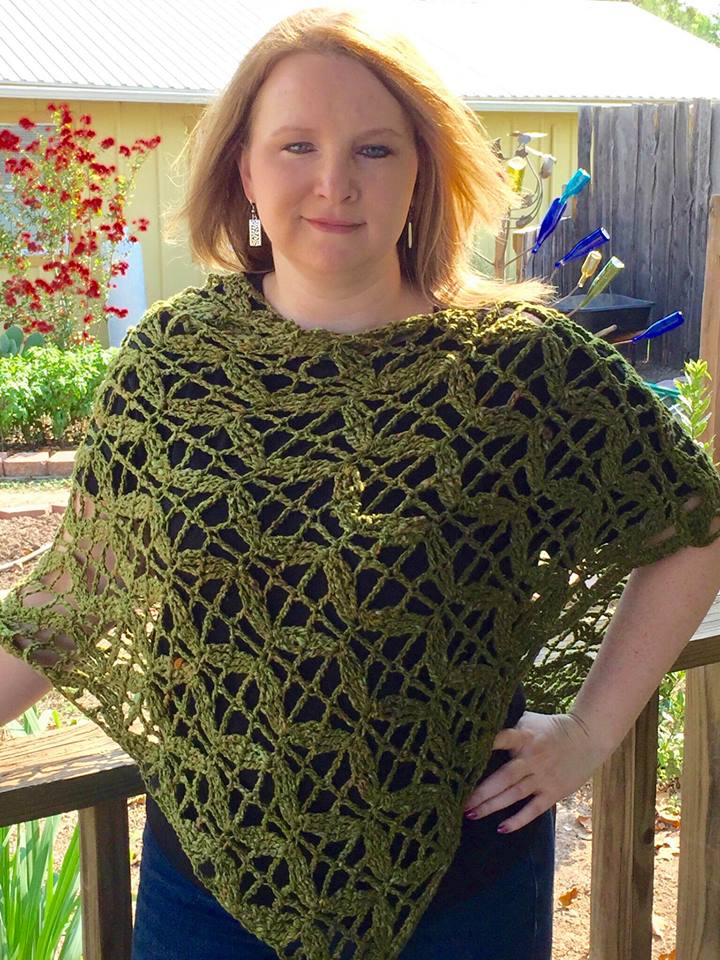
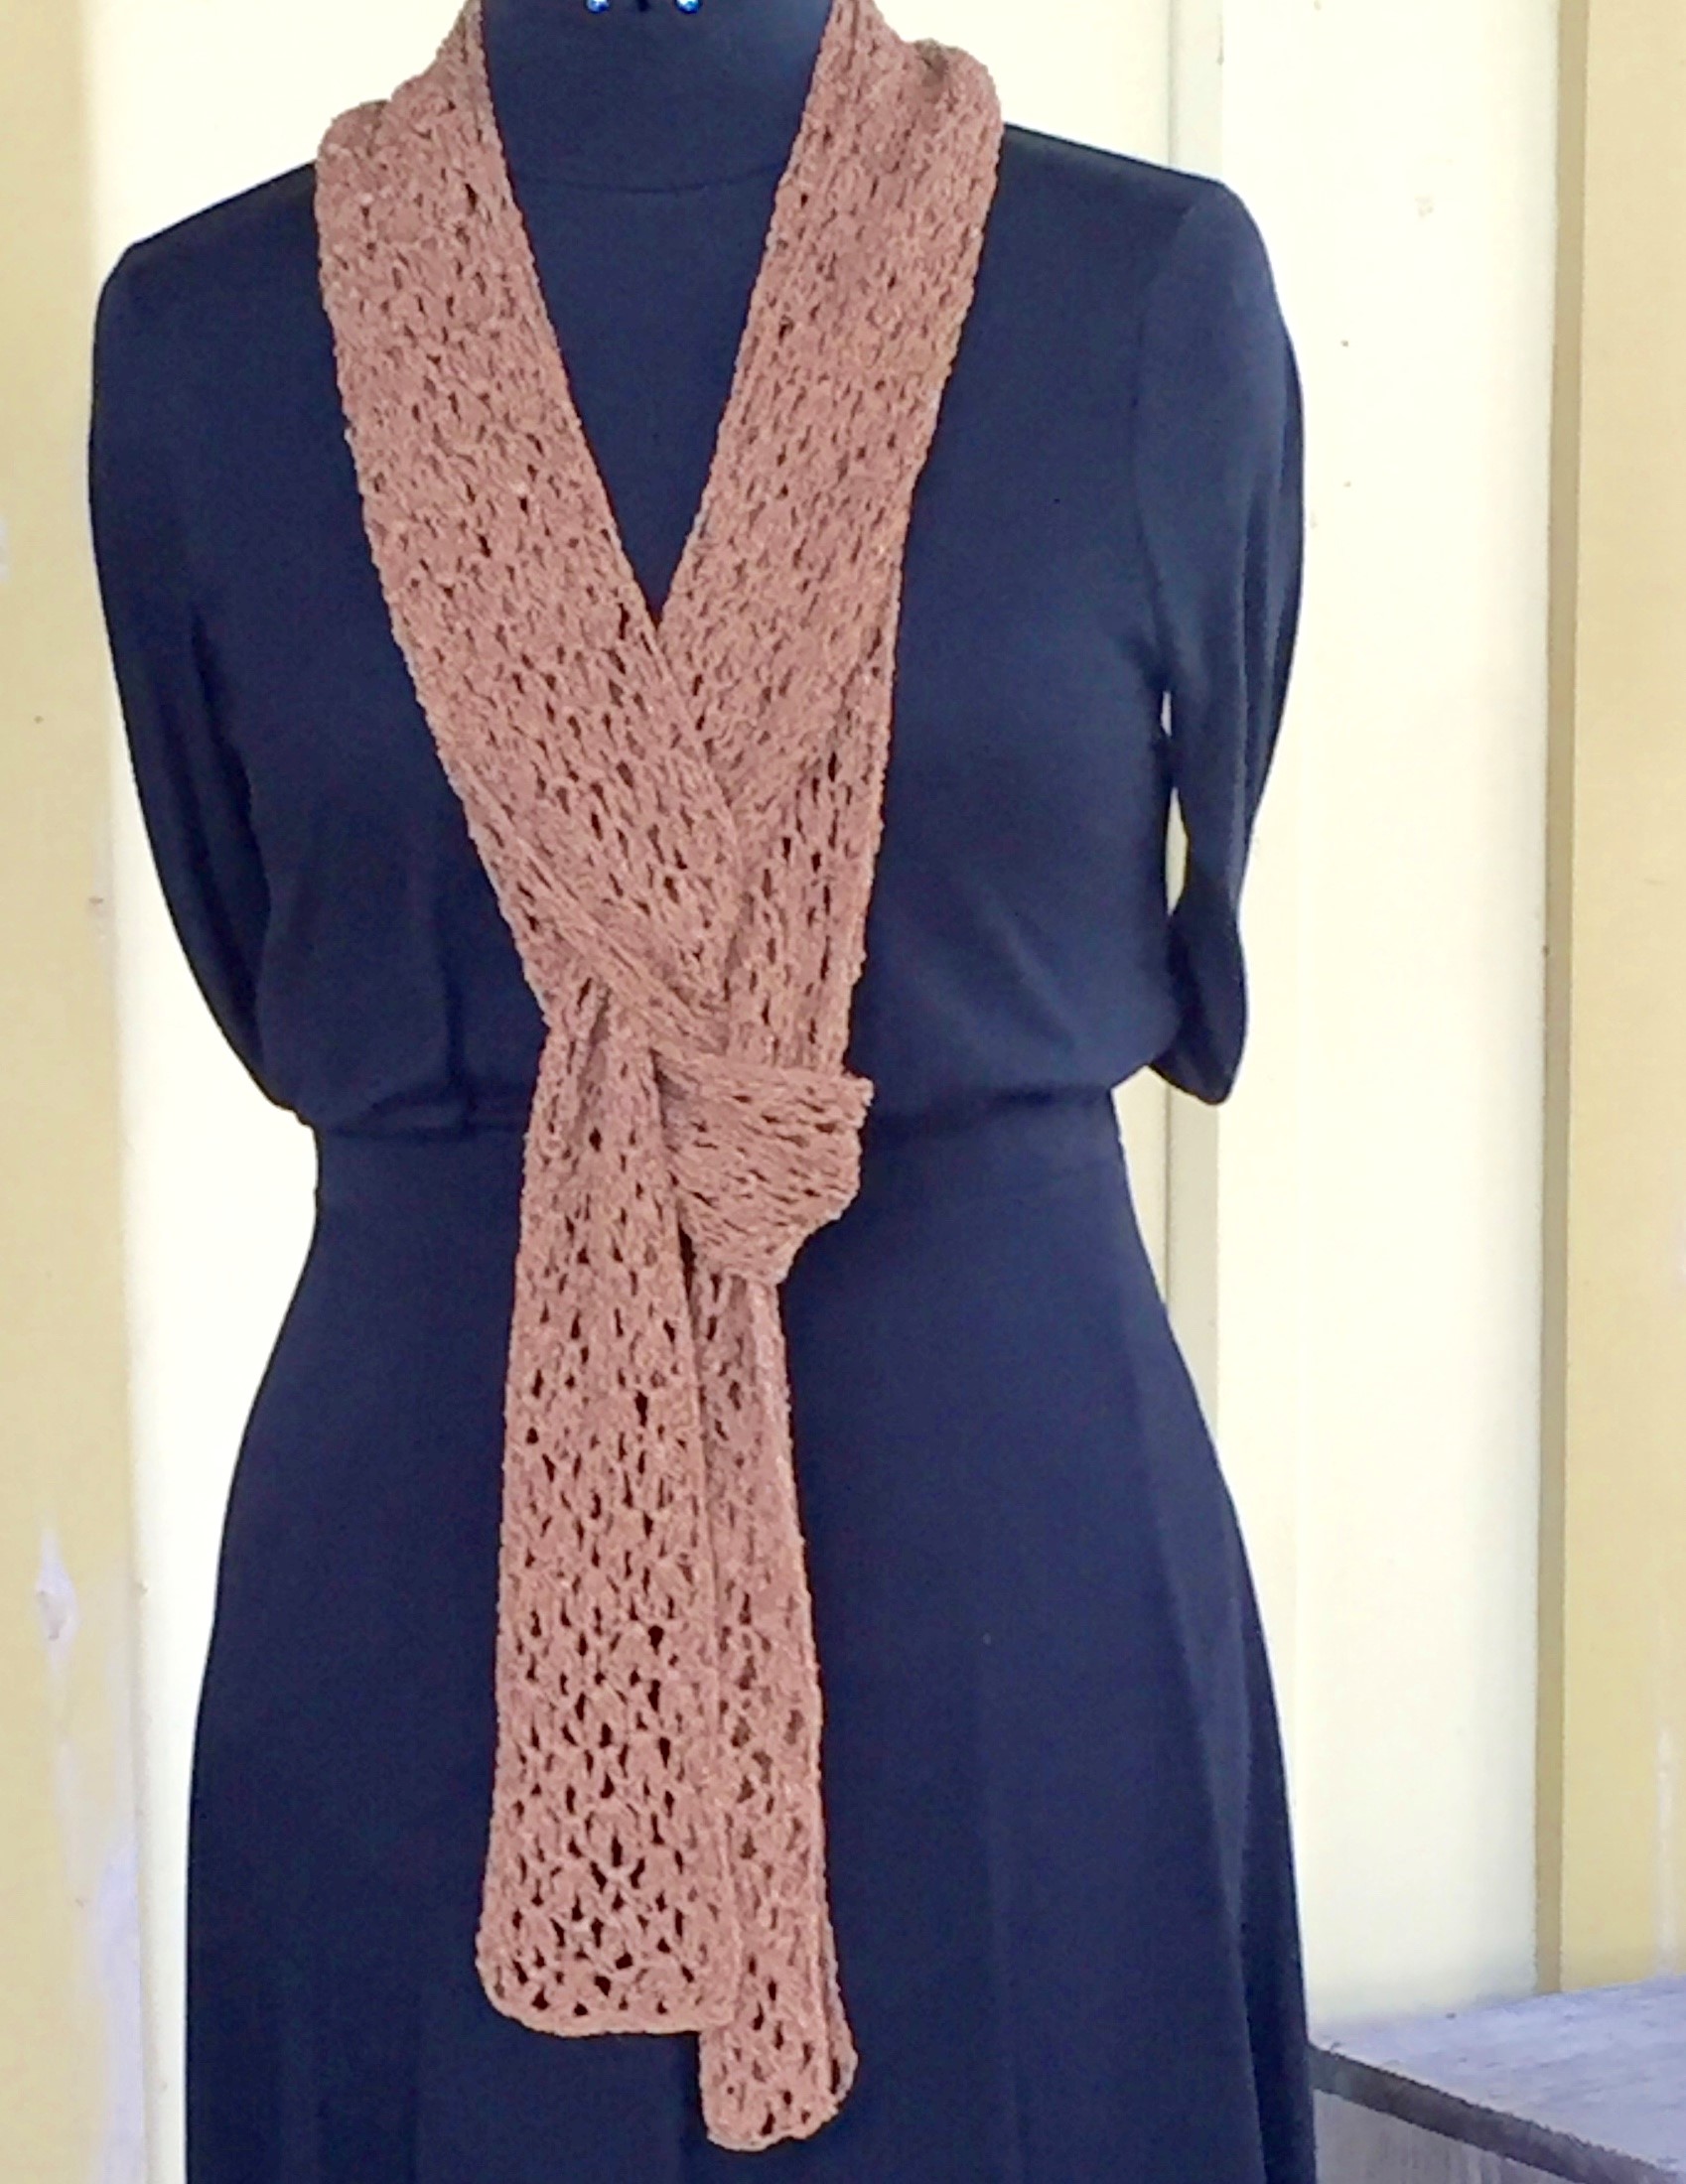
From cozy baby blankets to elegant shawls, find your next creative project. All skill levels welcome!
Featured from the Blog
Handpicked reads from American Crochet — patterns, tips, and community stories.
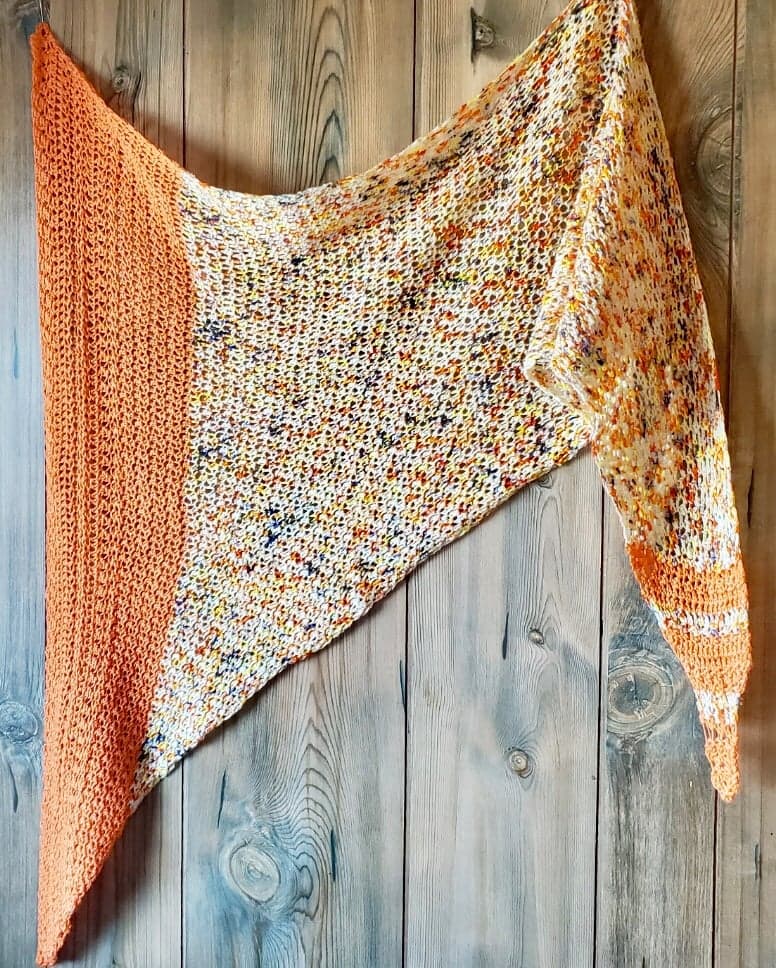
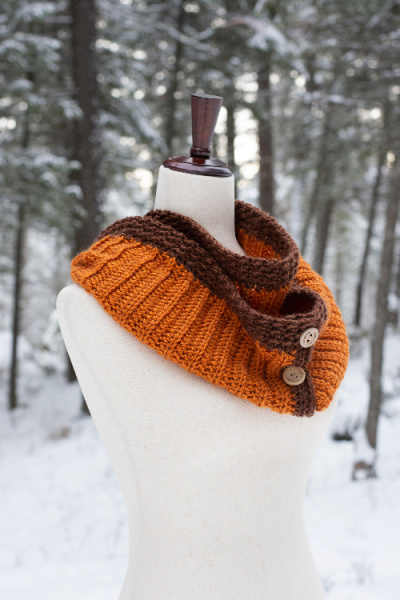
Best Crochet Pattern Bundle for 2026 Head Over Heels Blog Hop Event
If you love stitching cozy makes for heads and feet, you're going to fall head over heels for this year's event. I'm thrilled to join a talented group of crochet designers for the Head Over Heels Blog Hop 2026, hosted by Debbie Field of MadameStitch. This 12-day celebration runs from February 9–20, 2026, with daily free PDFs and an exclusive pattern bundle.
Read moreFeatured Products
Discover our handpicked selection of premium crochet patterns and crafting supplies. Perfect for your next creative project!
Join Our Crochet A-Longs
Crochet together with our wonderful community! Our CALs are completely free and perfect for all skill levels. Work alongside fellow crafters, share your progress, and create something beautiful together.
Crafting A Rainbow Of Hope
CAROH is more than just crafting—it's about weaving hearts together, forming spiritual bonds, and inspiring others. Join us in creating handmade items that bring comfort, hope, and love to those who need it most.
NICU Bonding Squares
Creating comfort for preemies and their families
Community Connection
Building friendships through shared purpose
Spreading Hope
Making a difference one stitch at a time
Mistie Bush
Founder & Designer
Hi, I'm Mistie
My journey with crochet began at 16, taught by a cherished family friend. That early spark reignited in 2004, and by 2007, my passion evolved into designing patterns I love to share with you.
American Crochet, Mistie Bush Designs, and Crafting A Rainbow Of Hope are more than businesses—they're extensions of my life's purpose. Along with my husband Kevin and our family, we're dedicated to weaving hearts together through the joy of yarn arts.