Finishing Your Riverwood Square CAL Border Ideas Edging Options

You’ve completed all 24 squares — what a journey! Now it’s time to add that final touch that ties everything together: the border. Whether you’re going for a clean, simple edge or something with a little flair, this post gives you a few options to choose from so your blanket reflects your style.
Sign up to receive exclusive pattern releases, step-by-step instructions, and helpful tips to guide you through this fun and engaging crochet-along! Click here to join!

I would love to see your projects in my Facebook Group and/or on Instagram!
Your creations inspire and motivate our vibrant crochet community!
🧶 Before You Start: Tips
- Make sure all squares are joined and blocked
- Weave in your ends — yes, all of them! 😉
- Choose a yarn that complements or contrasts your squares for the border
- Use a slightly larger hook if your edging feels tight
Notes
When I joined my squares I crocheted 4 across which gave me 6 panels. I crocheted the 6 panels together just like I did when joining them. You may have used a different method than I did and that is perfectly fine.
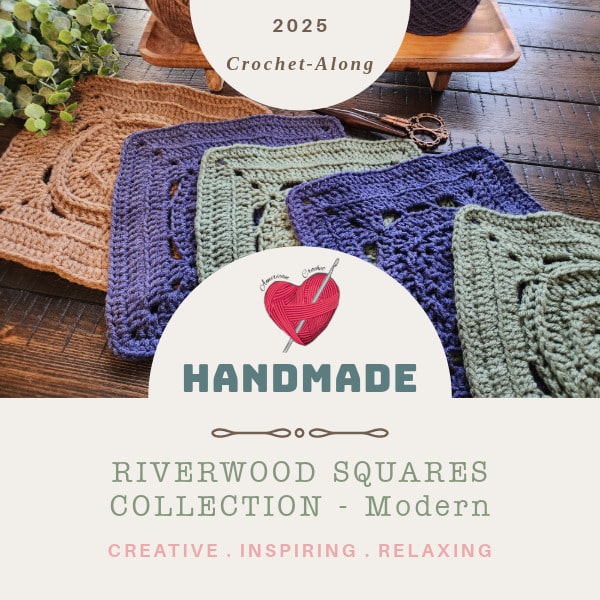
Table of Contents
Disclaimer: This post contains affiliate links. When you purchase something through these links I earn a small commission. You do not pay any extra for the item you purchase.
Option 1: Clean & Classic Single Crochet Border
Perfect for those who love simple finishes.
Round 1: Work a round of single crochet evenly around the entire blanket, placing 3 sc in each corner.
Rounds 2–3: Continue with 1–2 more rounds of sc or hdc for a clean frame.
Option 2: Gentle Waves – Shell Edging
For a decorative finish that still feels soft and light.
Round 1: Ch 1, work 3 hdc in same st, *hdc in each st across, work 3 hdc in middle st of corner,* repeat from *to* around; join with a sl st in 1st hdc.
Round 2: Ch 1, sc in same st, *sk next st, shell in the next st, sk next st, sc in the next st,* repeat from *to* around; join with a sl st in 1st sc.
Option 3: Framed Texture – Post Stitch Border
Adds structure and texture that echoes the CAL.
Round 1: Work a round of single crochet evenly around the entire blanket, placing 3 sc in each corner.
Round 2: Alternate front and back post double crochet to add depth.
Optional: Finish with a round of sl sts for a clean edge.
Final Note:
You can block your blanket one last time after completing the border to help everything lay flat and even.

Happy Hookin!
XO, Mistie
All patterns are designed by Mistie Bush of American Crochet. I'm passionate about creating patterns that are as enjoyable to make as they are beautiful to wear — clear, confidence-building, and crafted with you in mind. Whether you're just finding your rhythm or adding to a well-loved collection, I'm so glad you're here. Have a question? I'd love to help — reach out anytime before or after your purchase.
Disclaimer: This post contains affiliate links. When you purchase something through these links I earn a small commission. You do not pay any extra for the item you purchase.
Happy crocheting, Mistie Bush American Crochet
Chat about this page with AI
Opens the AI in a new tab with a prompt that references this page. You can edit the prompt before sending. Claude and ChatGPT support prefill; Gemini and Perplexity may require pasting the prompt.